
Precision, measurement, and guides
Everything about exact dimensions: display units, the typed-input grammar, the Tape Measure and Protractor, and guides.
Models made in Hew tend to get manufactured: 3D printed, cut, assembled. So exact dimensions are first-class, and they come from typed input on every tool, from the display units you choose, and from construction guides that extend the snapping system.
Units
Model geometry is always stored in meters internally; Settings ▸ Units controls how lengths are displayed and interpreted:
| System | Format | Example |
|---|---|---|
| Metric | Meters | 1.238 m |
| Metric | Centimeters | 123.75 cm |
| Metric | Millimeters | 1237.5 mm |
| Imperial | Architectural | 5' 3-1/8" |
| Imperial | Fractional inches | 63-1/8" |
| Imperial | Decimal inches | 63.125" |
Imperial fractions round to the nearest 1/16“. Every readout — tool previews, the Tape Measure, the typed-input echo — follows this setting.
Typed input, in full
While a tool is mid-gesture, type a value and press Enter. The rules:
- Bare numbers are read in the current display unit (in imperial modes, bare numbers are inches).
- Explicit units always win, in any display mode:
250mm,3.5cm,1.2m,2km,6",6in,2',2ft. - Feet-inches-fractions parse whenever
'or"appears:5'3",5' 3-1/2",3 1/2",5/8". - Rectangle takes two comma- or
x-separated dimensions, mixable:1cm,100mm,2' x 18"; one value makes a square. - Rotate and Protractor take plain degrees; Scale takes a plain positive factor.
Tape Measure (T)
The Tape Measure does two jobs, chosen by where your first click lands:
Measure a distance. Click any point, move, and read the live distance; click again to finish. If the second click lands on empty space, Hew drops a guide point there (a small marker that participates in snapping). If it lands on real geometry, you just get the measurement — nothing is created.
Drop a parallel guide. Click on an edge — of a solid or of a sketch you’ve drawn — then move sideways: a guide line parallel to that edge follows at the offset shown in the readout. Click to place it, or type an exact offset and press Enter. This is the classic SketchUp workflow for laying out a design before drawing it.
Protractor
The Protractor (Tools ▸ Protractor) measures an angle and drops an angular guide line through a point:
- Position the on-screen disk. It lies on the face under your cursor, or the ground plane. Hold
Shiftto lock the current plane, or press an arrow key to force the plane’s axis (→X,←Y,↑/↓Z). - Click the apex (where the angle’s corner sits).
- Click along a baseline (the zero direction).
- Sweep to the angle (it snaps near the axes) and click, or type degrees and press
Enter.
The result is a guide line through the apex at that angle.
Working with guides
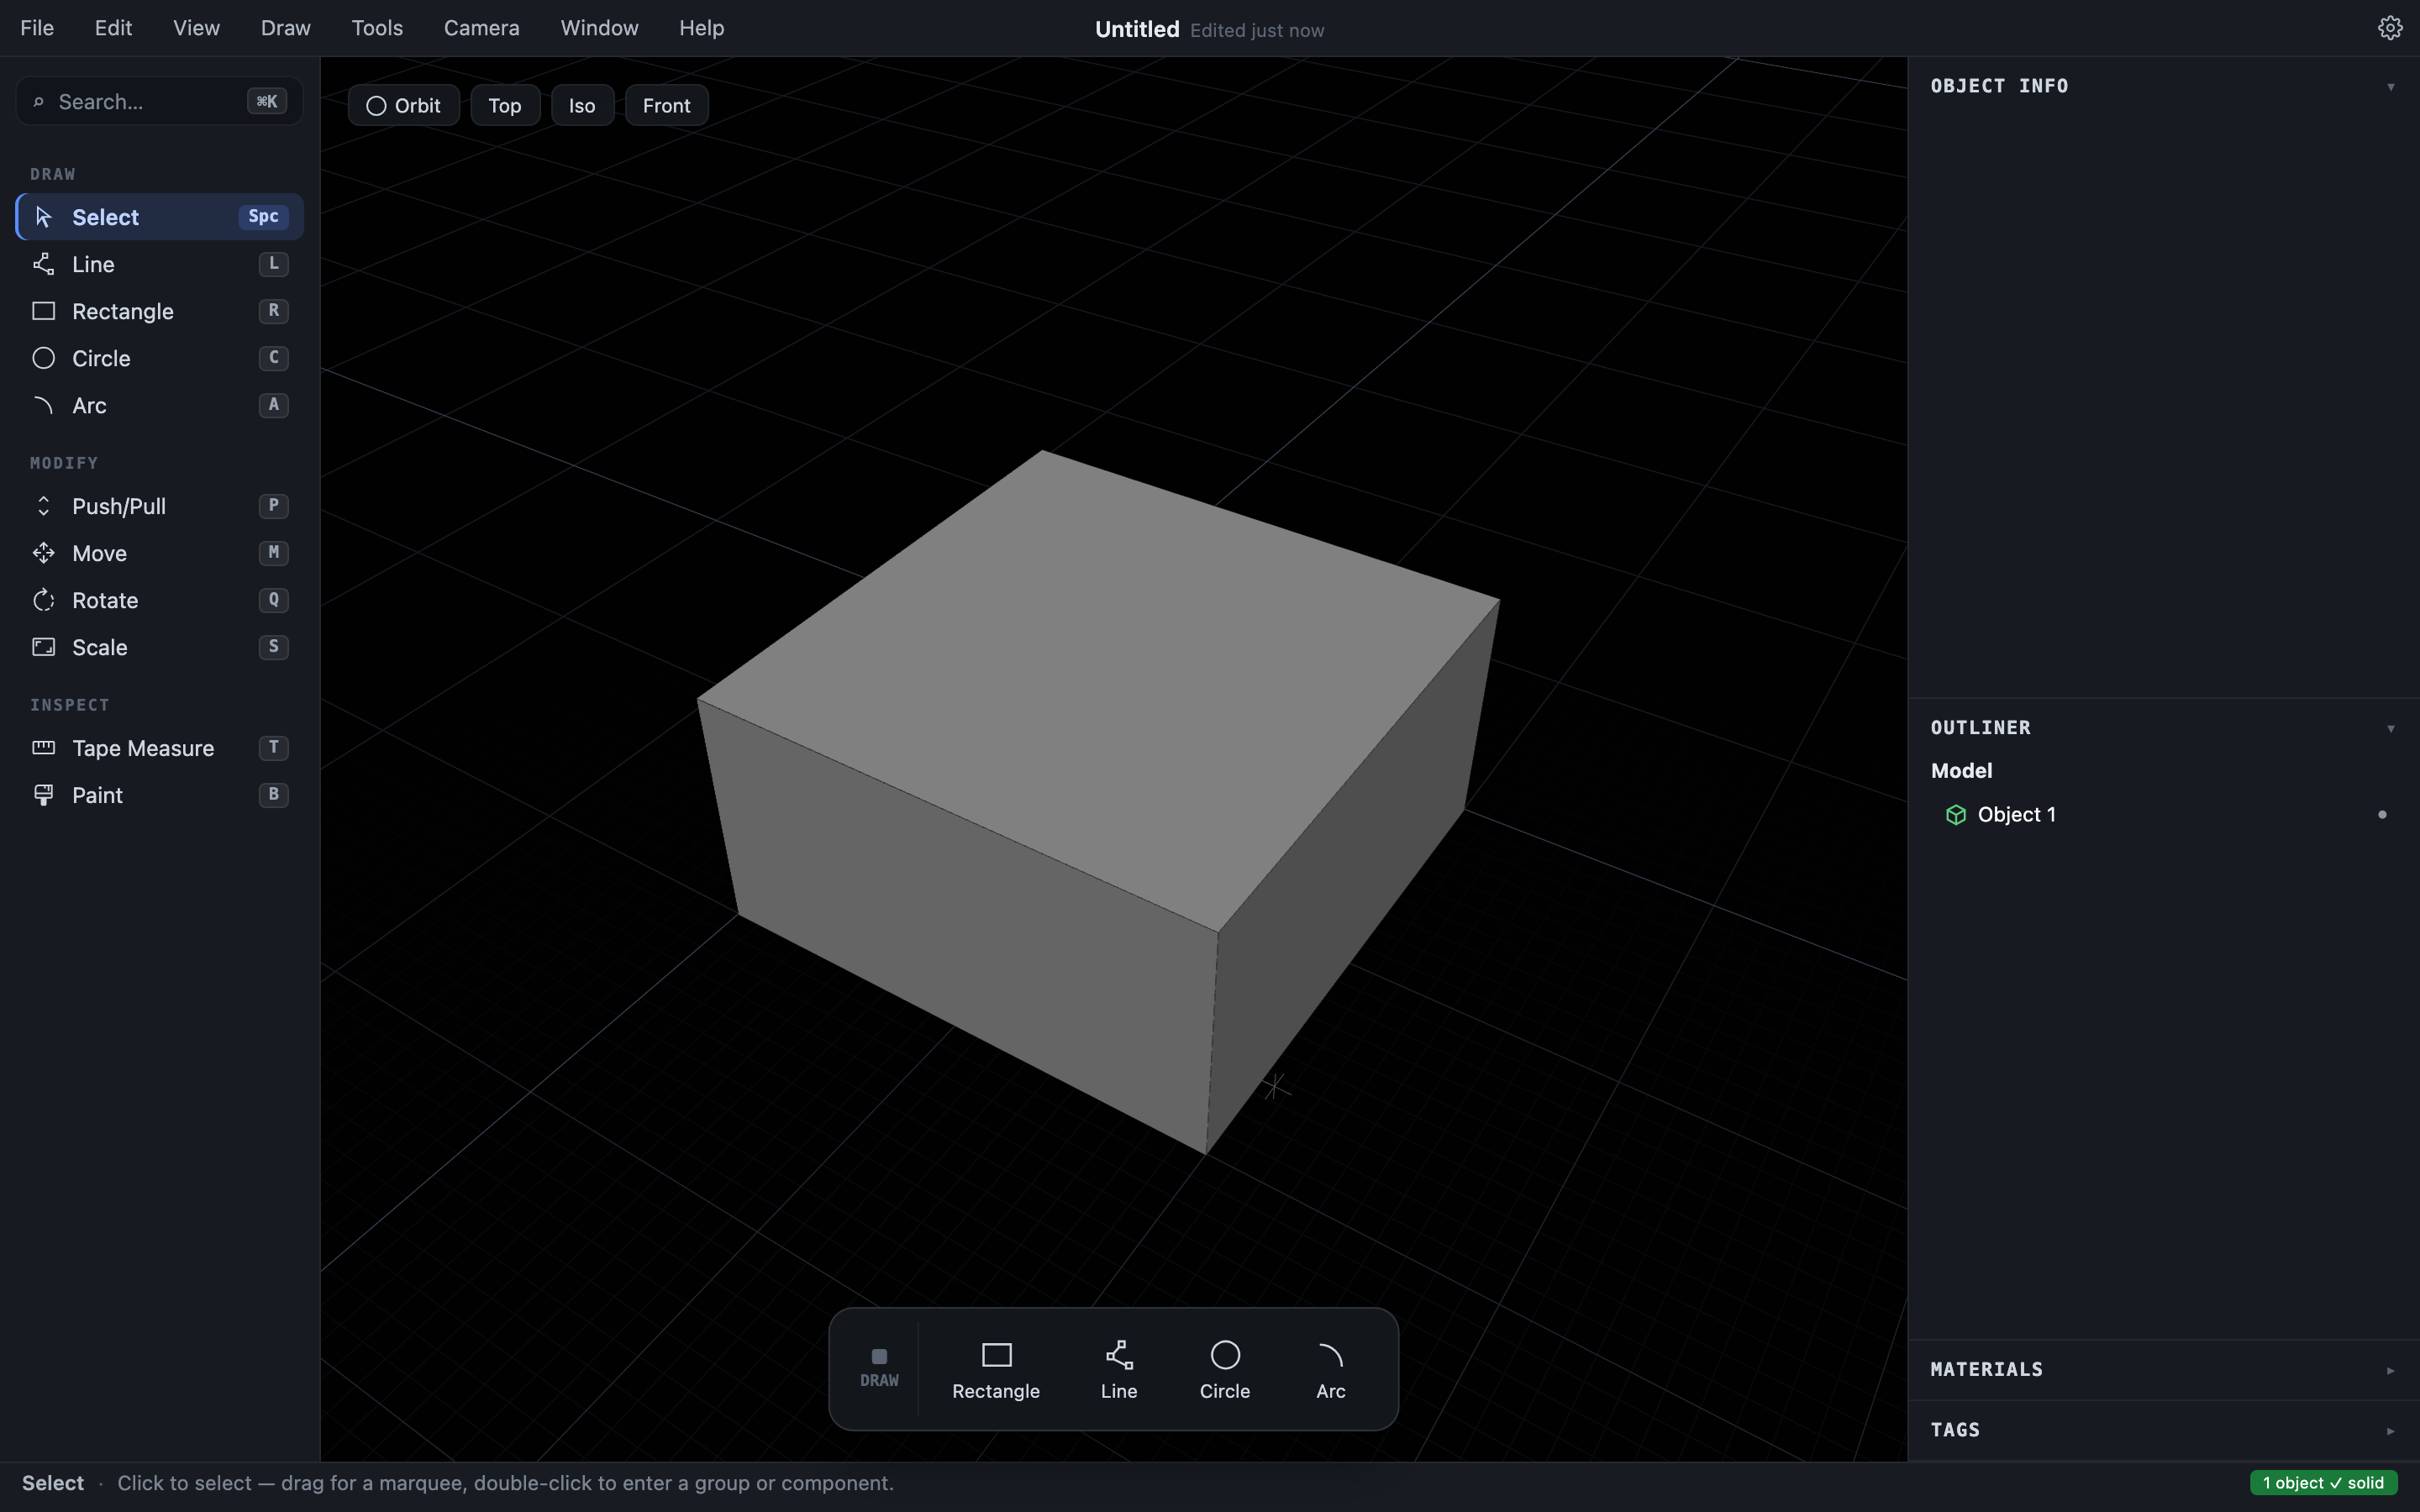
Guides are construction geometry: dashed lines and point markers that are never part of your solids, never export, but always snap. Use them to pre-plan positions, then draw to them.
- The purple “On Guide” snap cue appears whenever the cursor is on a guide.
- Where a guide crosses an edge, a sketch line, or another guide, the amber Intersection cue appears — click there to land exactly on the crossing, which is usually the whole reason the guide exists.
- View ▸ Guides hides or shows all guides at once; hidden guides don’t snap.
- To delete one guide, select it with the Select tool and press
Delete. Edit ▸ Delete Guide Lines clears every guide in one undoable step. - Guides are saved in the
.hewfile, and guides in imported SketchUp files come across.
Reading precision from the model
For a quick sanity check without any tool gymnastics: select an object and read Object Info, or use the Tape Measure between two snap points. Endpoint-to-endpoint measurements come from the model’s exact geometry.