Materials

Paint faces or fill whole objects from a per-document palette of colors and textures that survives every modeling operation, and adjust opacity for glass and other see-through materials.

Materials in Hew are simple and per-document: a palette of flat colors and image textures that you paint onto faces or assign to whole objects.

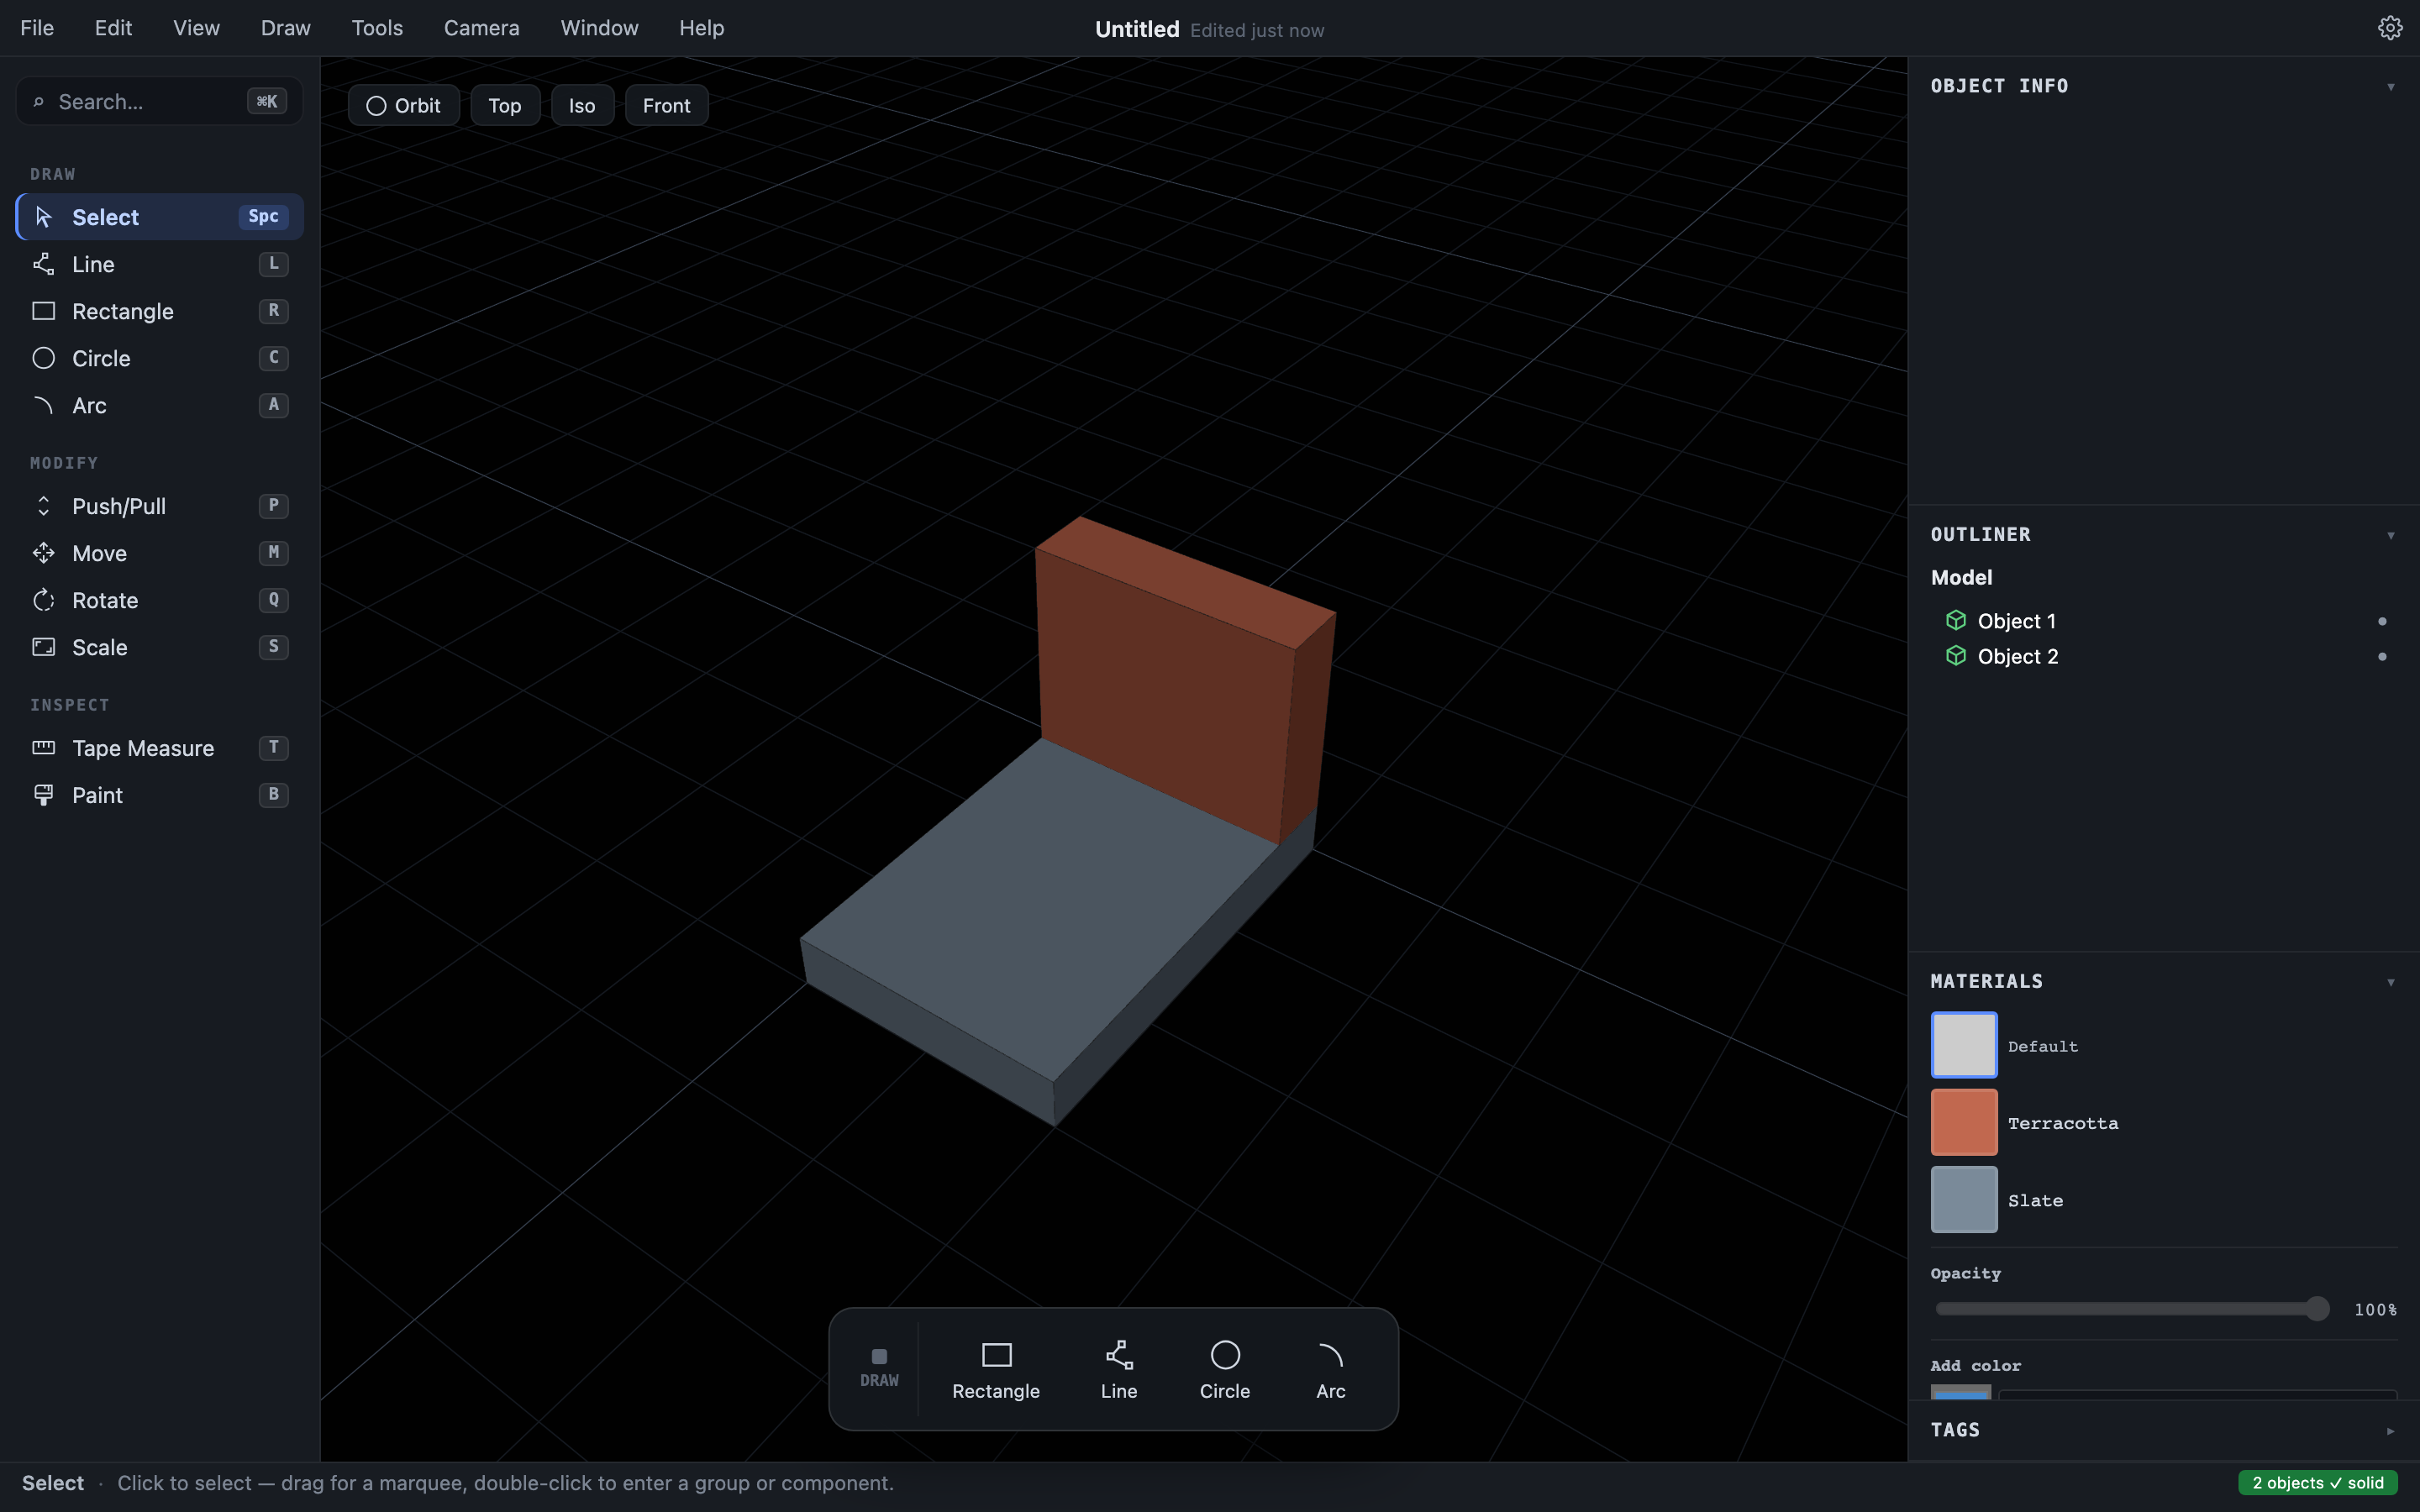
The Materials panel

Expand Materials in the right-hand tray (or View ▸ Materials, ⇧⌘C / Ctrl+Shift+C).

The Materials panel expanded, showing the filter field, the Default swatch, and two named materials

The panel contains:

  • A filter field at the top: type to narrow the swatch list to materials whose name contains what you typed (case-insensitive). The Default swatch always stays visible regardless of the filter, and filtering never changes your current selection.
  • Default (unpainted) is the built-in neutral gray. Select it to “paint with nothing,” i.e. to reset faces back to unpainted.
  • Your material swatches: click one to make it the current material and pick up the Paint tool in one move — the very next click paints with it (see Painting below). Texture materials show a thumbnail.
  • Opacity: drag the slider to make the selected swatch translucent — glass, screens, scrims, anything meant to be seen through. Works the same for colors and textures.
  • Add color and Add texture are collapsed by default — click either header to expand it. In Add color, name the material and click the swatch button to open the color picker; + Add color stays disabled until you’ve actually picked a color.
  • Add texture: choose a PNG or JPEG image and give it a real-world size (width × height in meters). The image tiles across faces at that physical scale.

Opacity

Every material has an opacity, from fully opaque (100%) down to fully transparent (0%) — 255 shades either way. Select the swatch you want to change, then drag the Opacity slider underneath the swatch list. The percentage next to it tracks where you are.
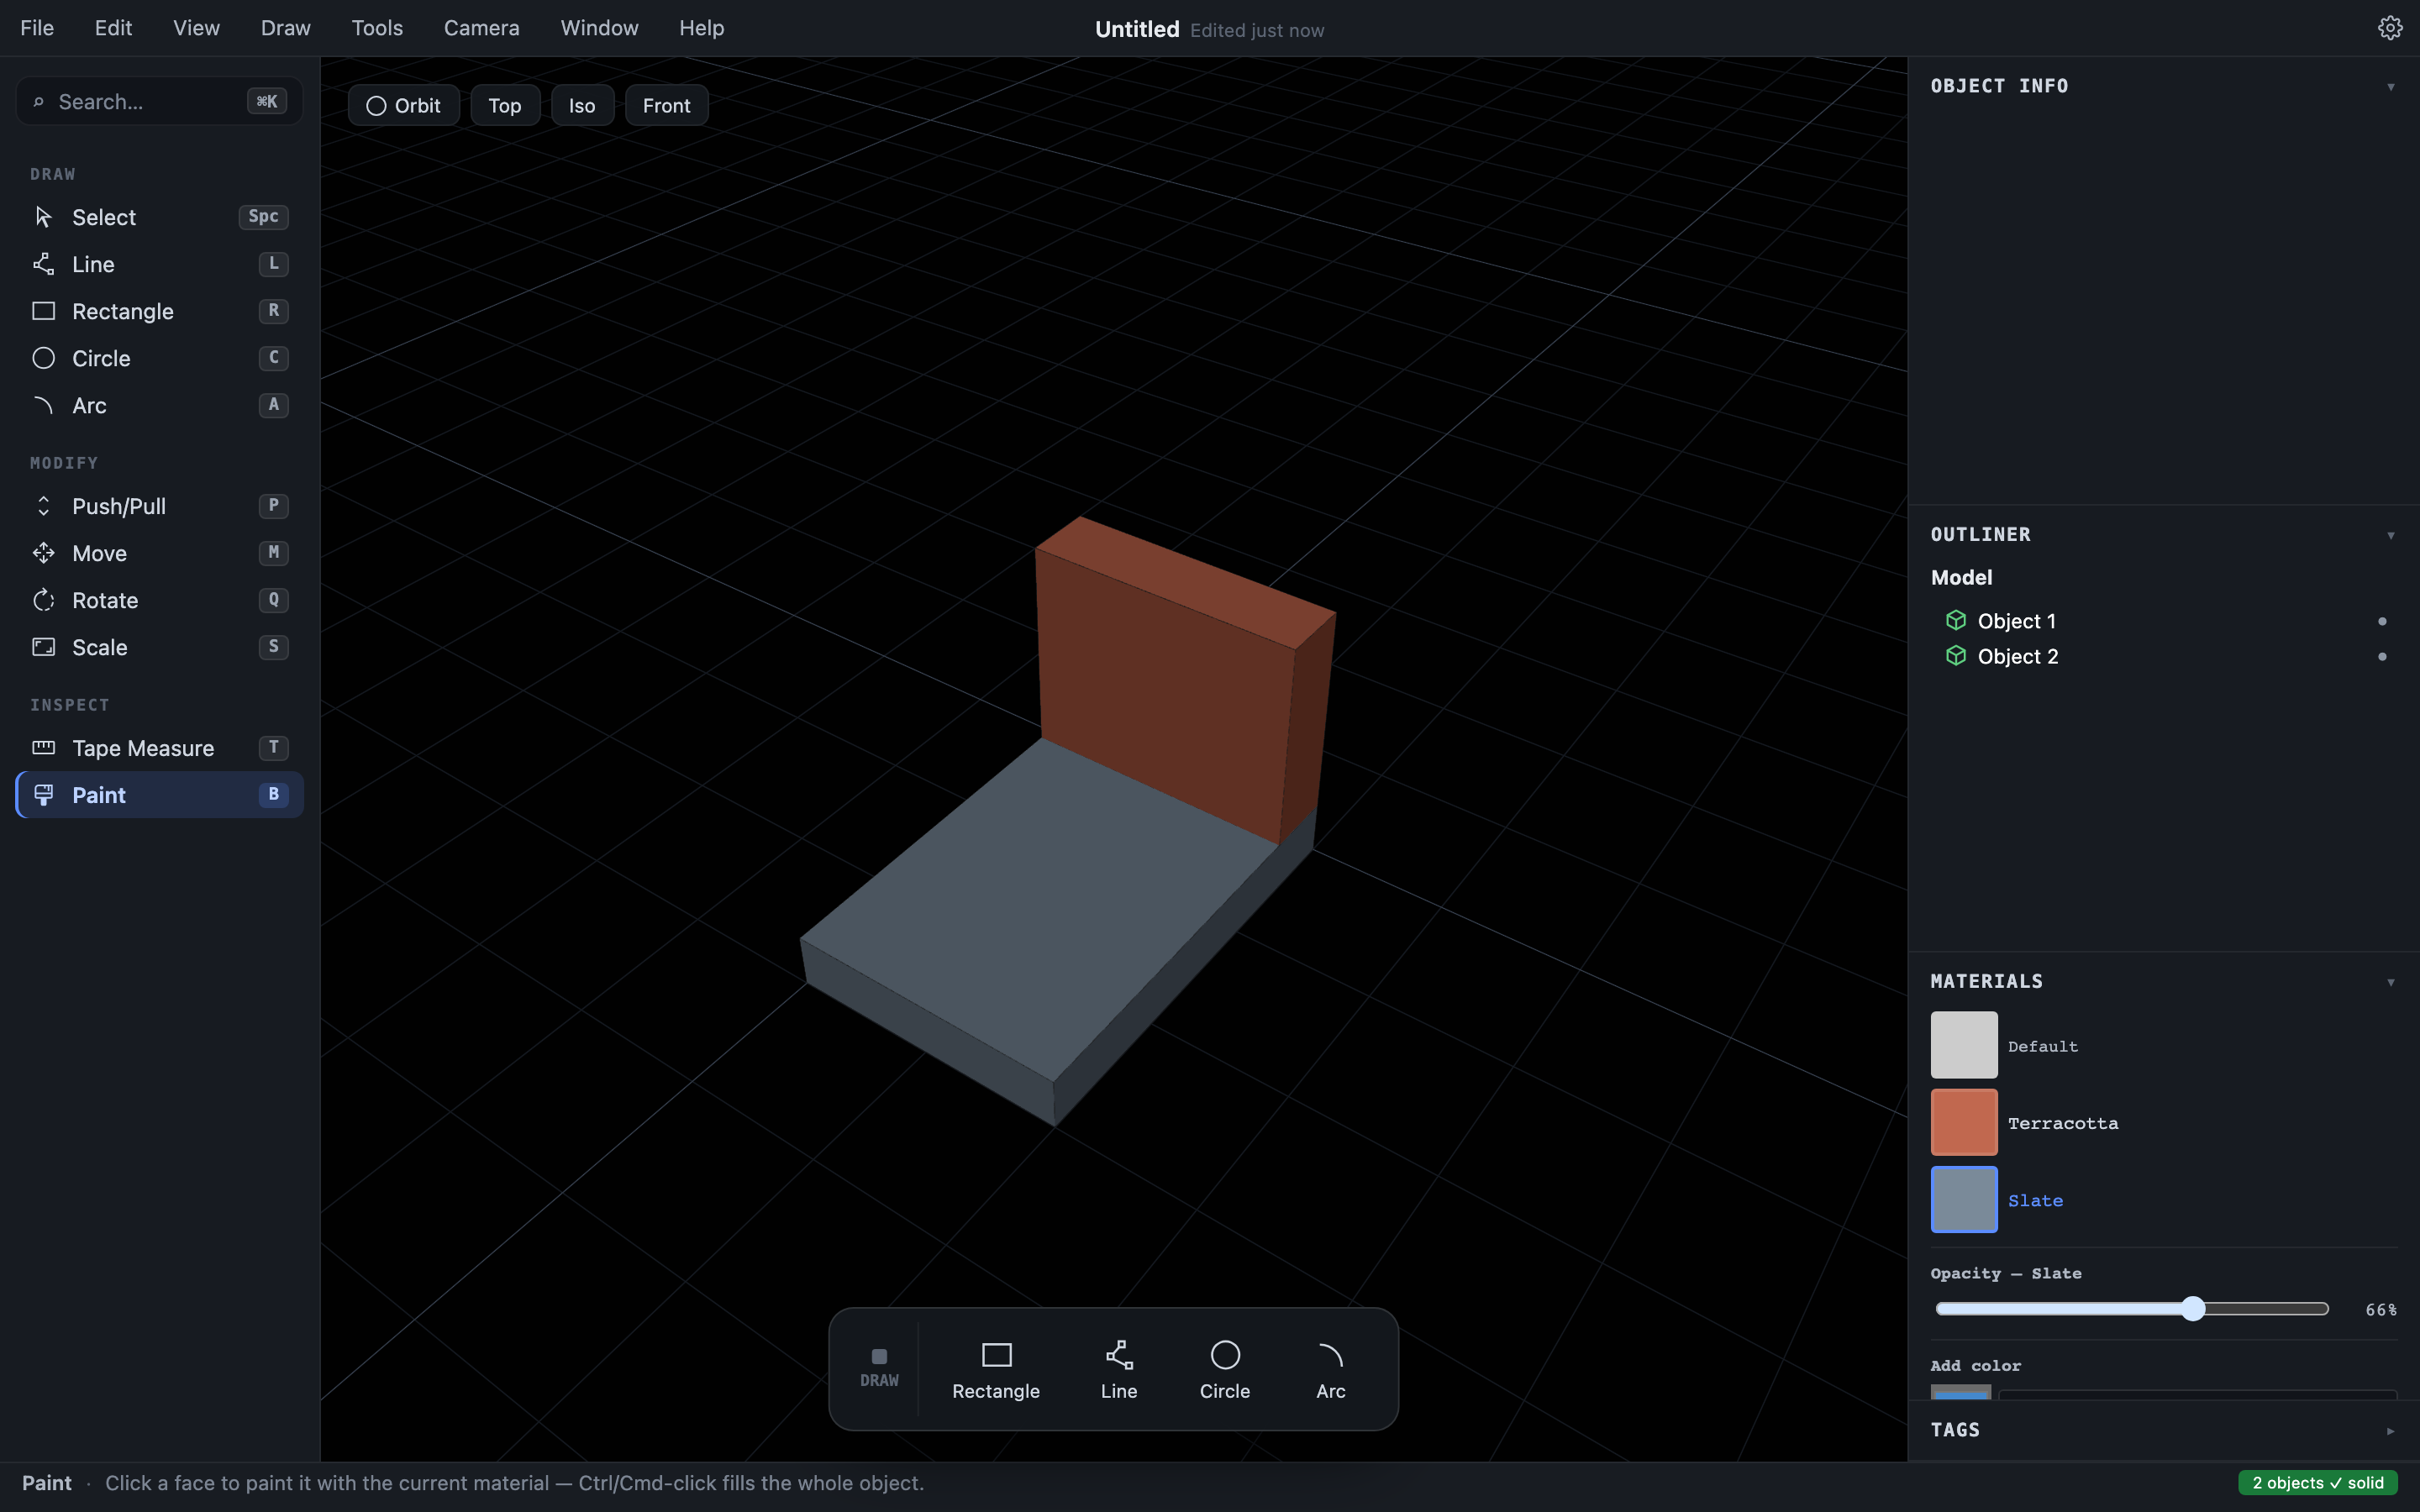
The Materials panel with the Slate swatch selected and its Opacity slider dragged down to 67%, visibly lightening the slate base object in the viewport

The change applies to every face and object currently painted with that material, updates the viewport immediately, and is undoable like any other edit.

Painting

Click the swatch you want — that makes it the current material and switches you to the Paint tool automatically (you can also pick Paint yourself with B). Then:

  • Click a face to paint only that face.
  • /Ctrl-click to set the whole object’s base material in one go.

The hovered face highlights so you can see what you’re about to paint. To un-paint, select the Default swatch and paint again.

Sampling a material already in the model

Hold Alt and click any face to pick up the material it’s actually wearing — its own, or the object’s base if it has never been painted individually. That material becomes current, and the Materials panel scrolls to its swatch so you can see what you picked up.

Replacing a material everywhere

Shift-click a face to replace its material everywhere in the document with the current one, in a single undoable step. It’s the fast way to change your mind about a color you’ve already used on fifty faces.

/Ctrl+Shift-click confines the same replacement to the object you clicked.

Positioning a texture

A texture lands on a face at its default size and orientation, which is rarely where you want it. Choose Position Texture (Tools menu, or search it in the palette) and click a textured face. Three pins appear at the corners of one texture tile, right where you clicked, with the tile outlined between them:

  • Red sits at the tile corner nearest your click. Drag it to put that corner exactly where you want — it follows the cursor and snaps to endpoints, midpoints, and the rest of the usual inference points. Dragging anywhere else on the face slides the texture too.
  • Green is the next corner along the tile’s width. Drag it to rotate and scale the texture around the red pin; the corner stays under your cursor, so the tile edge points where you point.
  • Blue is the next corner up the tile’s height. Drag it to shear, for a texture that needs to lean with a slanted surface. Red and green stay put, which is what makes it a shear rather than a rotation.

A dashed rectangle marks where the tile would sit at its natural size — that outline is 1× scale, at whatever angle the texture currently leans. The measurement box reads the same thing as numbers, ×1.00 0.0°: scale relative to the material’s natural size, and the angle measured from the face’s own axes. Both are absolute — they describe where the texture is, not how far some drag has traveled.

Enter commits the whole session as one undo step; Esc puts it back exactly where you started.

You can type instead of dragging, any time the pins are up — no need to hold anything:

  • a plain number is the absolute angle45 puts the texture at 45°, whatever it was before
  • a number ending in x is the absolute scale2x means twice natural size, 1x means exactly natural
  • Tab flips what a bare number means; a first Enter applies the value, a second commits
  • click the blue pin first and the same forms set the tile’s skew angle and height scale instead
  • while dragging the red pin, a plain number is a distance in your document’s units

Positioning works inside components too, but you have to be editing the component first — double-click into it, then position. That’s deliberate: a texture on a definition’s face belongs to every instance of it, so changing one changes them all, and it’s better to see which one you’re editing.

Face paint vs. object base material

Every object has an optional base material — the color its faces show when they haven’t been painted individually. Individually painted faces override the base. The base is why painted models stay painted as you keep working: when an operation creates new faces (pulling a boss out of a painted box, slicing, booleans), the new faces inherit the object’s base material instead of reverting to gray.

Set the base material with /Ctrl-click in the Paint tool.

Materials survive modeling

Painted faces keep their materials through splitting, push/pull, slicing, and boolean operations — material assignments follow the surviving geometry. Painting is undoable like any other edit.

Materials and export

glTF/GLB export carries your colors and embedded textures with the model. Use it when the receiving app should see materials. STL has no concept of color; it exports bare geometry. See Import and export.